Step 5 — Code — Git Repository
Once your BRD, SRD, and FSD are approved (see Specification — FSD & SRD), the project moves through three phases that take it from approved spec to an actual codebase: Plan & Task, Build, and Code – Git.
Phase 3 — Plan & Task
Purpose: Convert your approved specifications into an actionable development plan and task breakdown — the execution roadmap for the Build phase.
This phase has two components:
- Development Plan — Sprint timelines, milestones, and phased deliverables
- Development Tasks — Granular, actionable items for individual developers
Generating the Development Plan
- After your specs are approved, proceed to Phase 3 – Plan & Task.
- Open the Development Plan tab.
- Click "Generate Plan" to create the sprint plan and phased execution timeline.
- Once generated: Preview, Edit, Download, or Regenerate as needed.
Generating Development Tasks
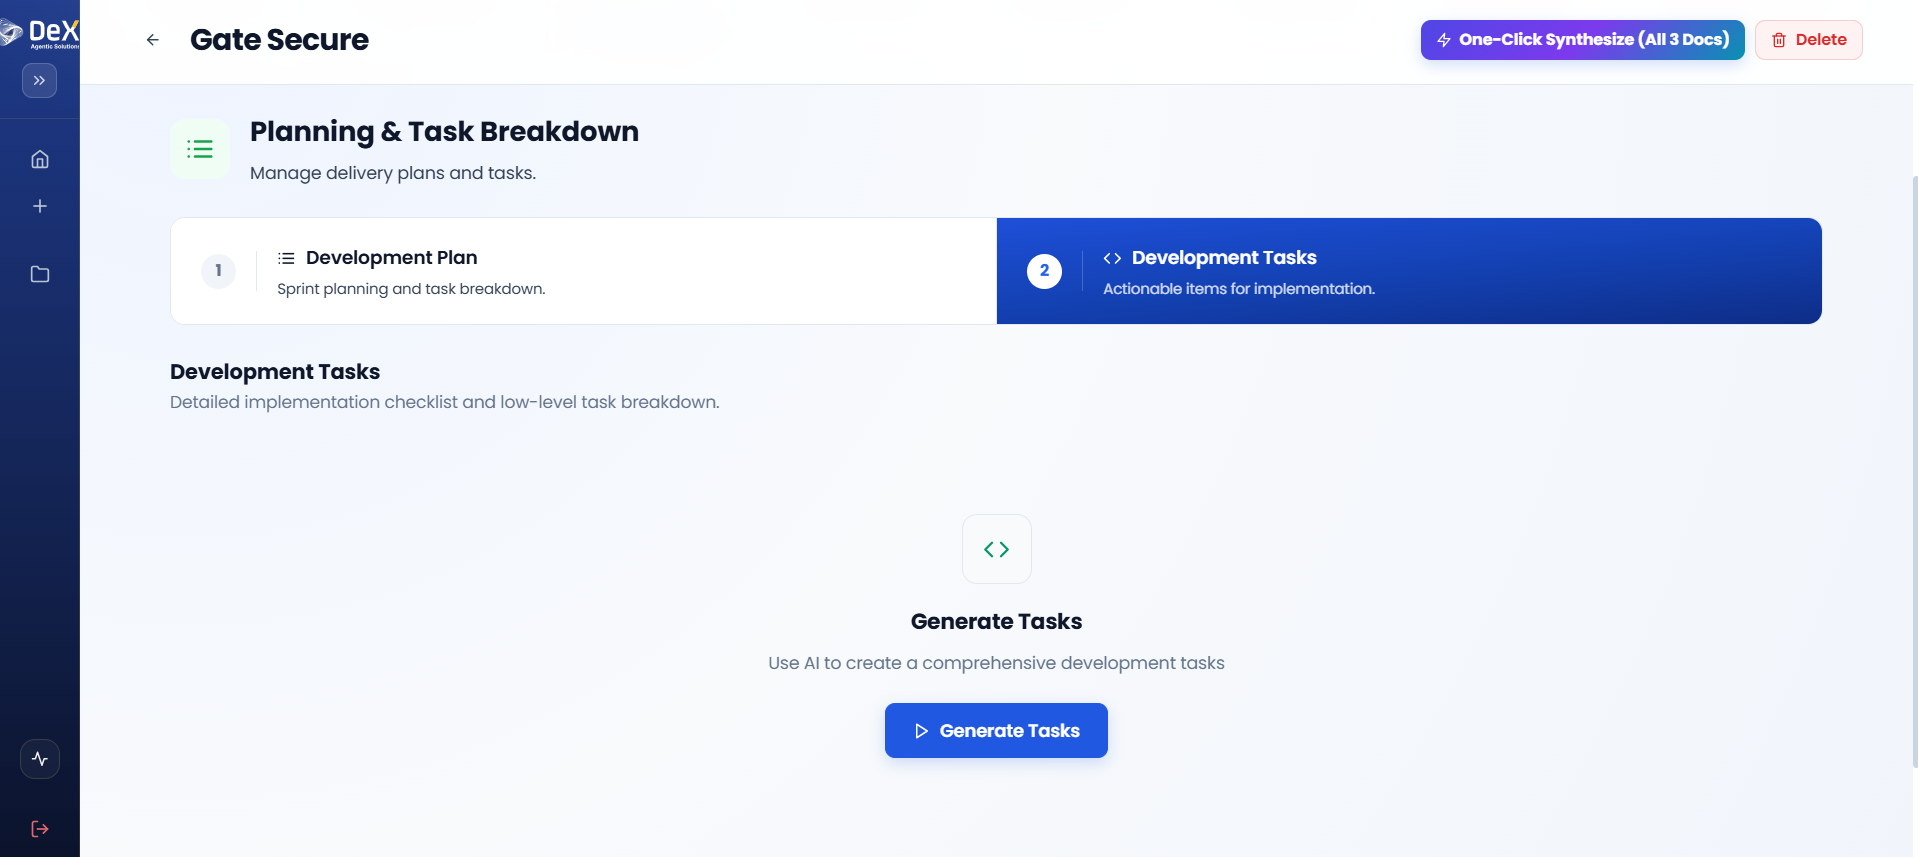
- After finalizing the plan, navigate to the Development Tasks tab.
- Click "Generate Tasks" — DeX automatically creates actionable tasks based on the approved plan.
- Once generated: Preview, Edit, Download, or Regenerate if the plan changes.
🗓️ Ensure the Development Plan is reviewed and approved before generating tasks — tasks are derived directly from the plan structure, so changes to the plan after task generation will require regeneration.
Worked Example — Contractor Sync Sprint Plan (excerpt)
| Sprint | Focus | Key Deliverables |
|---|---|---|
| Sprint 1 | Core mobile app shell + auth | Flutter app skeleton, JWT login, site assignment data model |
| Sprint 2 | Geofencing | PostGIS site radius validation, GPS capture, clock-in/out API |
| Sprint 3 | Facial verification | Camera capture flow, verification service integration, retry/flag logic |
| Sprint 4 | Supervisor dashboard | Real-time on-site status view, flagged-attempt review screen |
| Sprint 5 | Payroll export + hardening | Attendance export format, security review, QA pass |
Phase 4 — Build
Purpose: Compile and prepare the application for development execution based on the approved plan and tasks.
🔒 Access Control Notice: Phases 4 through 7 (Build, Code, QA, Deploy) are locked by default for standard users. This ensures governance, security, and proper authorization before compilation and deployment activities begin.
Requesting Build Access
- Click "Request Build Access" within Phase 4.
- This sends a notification to the Platform Administrator.
- The administrator reviews and grants permissions for Build, Code, QA, and Deployment stages — this may include provisioning VM access for your project workspace, depending on your organization's setup.
- Once approved, Phase 4 becomes fully accessible.
⚠️ Build Access is an organization-level governance gate, not a per-user toggle you control yourself. If you're blocked here, contact your Platform Administrator rather than your project team.
Build Execution
After access is granted, select your build strategy:
| Build Type | Description | When to Use |
|---|---|---|
| Clean Build (From Scratch) | Compiles the entire project using the FSD, SRD, and development plan | New projects or full rebuilds |
| Addon Build (Incremental) | Applies custom instructions; builds new features or patches existing files on top of an existing build | Feature additions or iterative updates |
Steps:
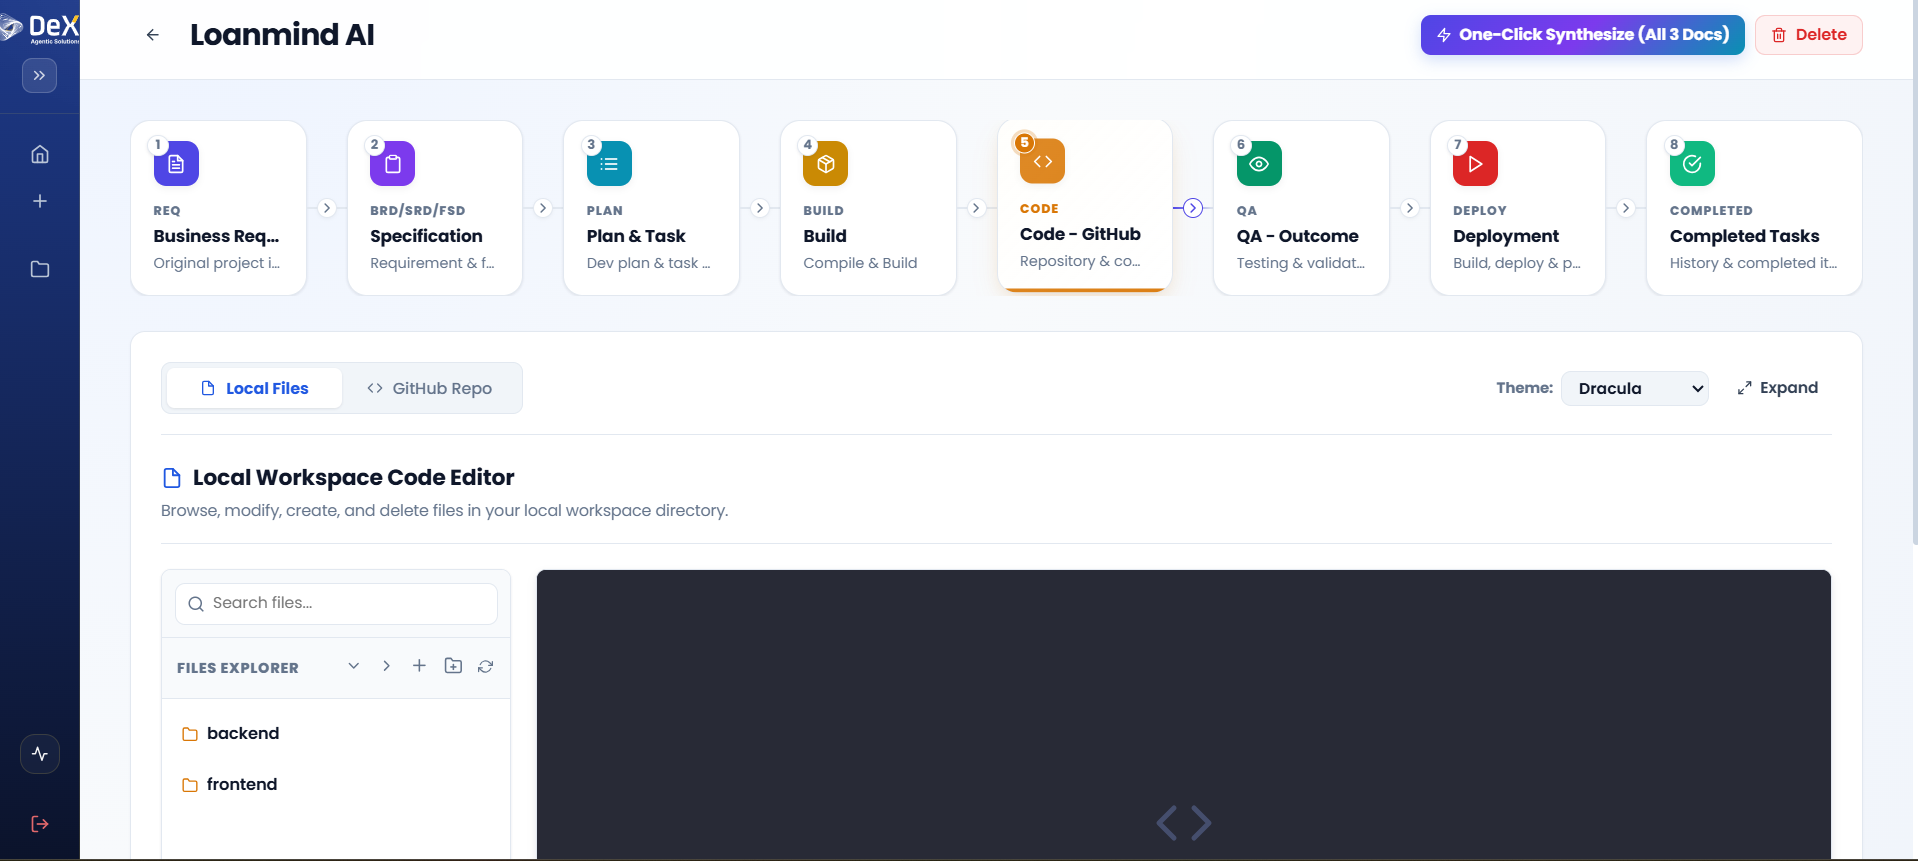
- Select your preferred build type.
- Click "Start Colakin CLI Build" to initiate the build process.
- Monitor build progress in the terminal output panel.
- On successful completion, Phase 5 – Code becomes unlocked.
Worked Example — Contractor Sync Addon Build
After the initial Clean Build shipped Sprints 1–4, a new requirement came in mid-project: supervisors wanted a shift-handover note field attached to each clock-out. Rather than rebuilding from scratch:
- The team selected Addon Build (Incremental).
- They provided a custom instruction: "Add an optional text field to the clock-out flow for a shift-handover note, visible on the supervisor dashboard."
- DeX patched the relevant FSD-derived files (clock-out endpoint, mobile clock-out screen, dashboard view) without touching the rest of the codebase.
- The build completed and Phase 5 reflected only the changed files.
This is the core advantage of the Addon Build path — it lets you keep iterating on a live project without re-running a full rebuild for every small feature.
Phase 5 — Code – Git Repository
Purpose: Integrate the compiled application into a Git repository and provide a local workspace code editor for developers to review, refine, and manage the generated codebase.
Steps
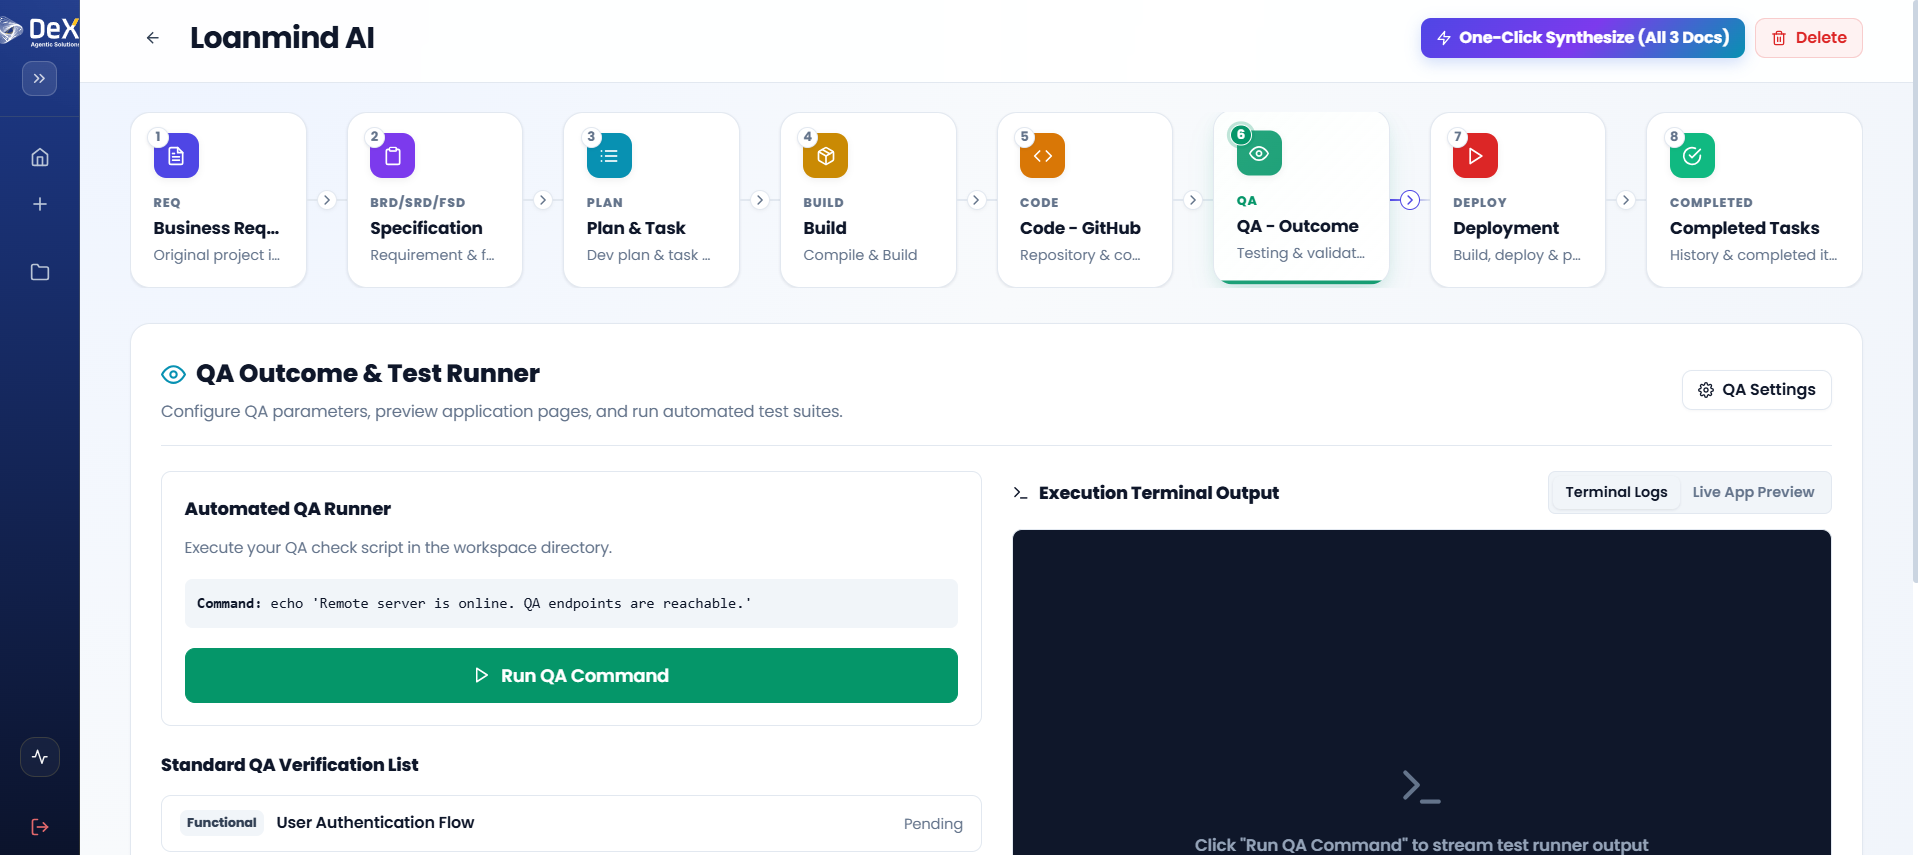
- Access the Local Files tab to browse backend and frontend directory structures.
- Use the GitHub Repo tab to synchronize code with your connected repository.
- Use the built-in file search to locate specific files quickly.
- Open any file in the inline editor to view its contents.
- Perform file operations as needed:
- Modify existing files
- Create new files
- Delete files that are no longer needed
🔗 Ensure your GitHub repository is connected before attempting to sync. Repository settings can be configured in your account preferences.
Worked Example — Contractor Sync Git Sync
For Contractor Sync, the team connected a GitHub repository under
their organization (org/contractor-sync) during Phase
5. Backend (FastAPI) and frontend (Flutter) directories were synced
as separate top-level folders, and the team used the inline editor
to manually tune the PostGIS geofence radius default before pushing
the change upstream via the GitHub Repo tab.
What's Next
➡️ QA — Outcome — Run automated tests against the compiled application before deployment.